Build No Code Chrome Extensions with Bubble step by step
Building Chrome extensions used to be a task for only expert developers with years of expertise. However, the landscape has changed, and now, even without coding expertise, you can transform your Bubble app into a Chrome extension.
Chrome extensions have become indispensable tools, enhancing our browsing experience and adding functionality to our favorite browsers.
However, for many, building these extensions can be daunting, requiring a deep understanding of web technologies and coding languages.
This is where Bubble steps in, offering a no-code environment created to design, prototype, and launch web applications through a user-friendly and visual interface.
Let’s journey into the step-by-step process on how to Build no code chrome extension with bubble.
Related :
Successful no code startups built on bubble
WeWeb Vs Bubble: Which One Is Right for You in 2024
Build no code bubble chrome extension
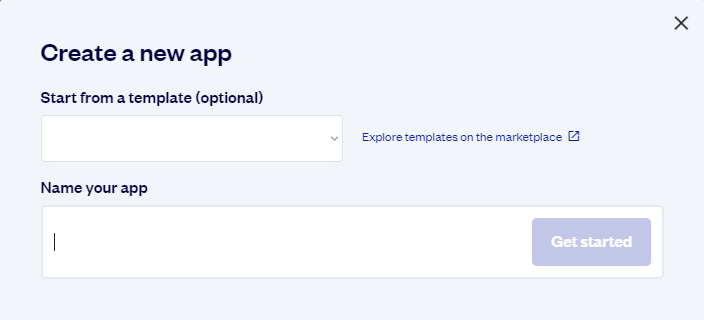
1. Create a functional Bubble App:
Design and build your Bubble web app and make sure your app is functional and ready to be converted into a Chrome extension.
2. Adjust your Bubble App settings to work as a Chrome extension:
Set up your app to function in a different context. For instance: You may need to adjust the layout, user interface, and interactions to fit the extension environment.
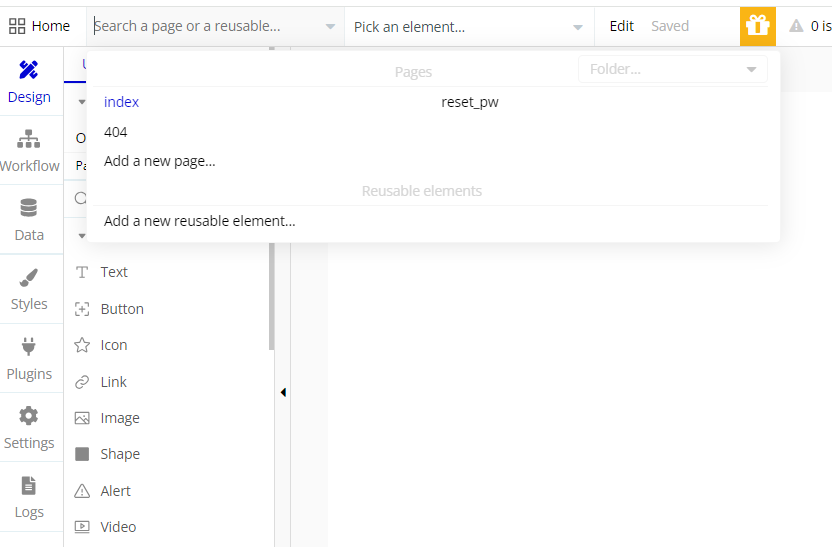
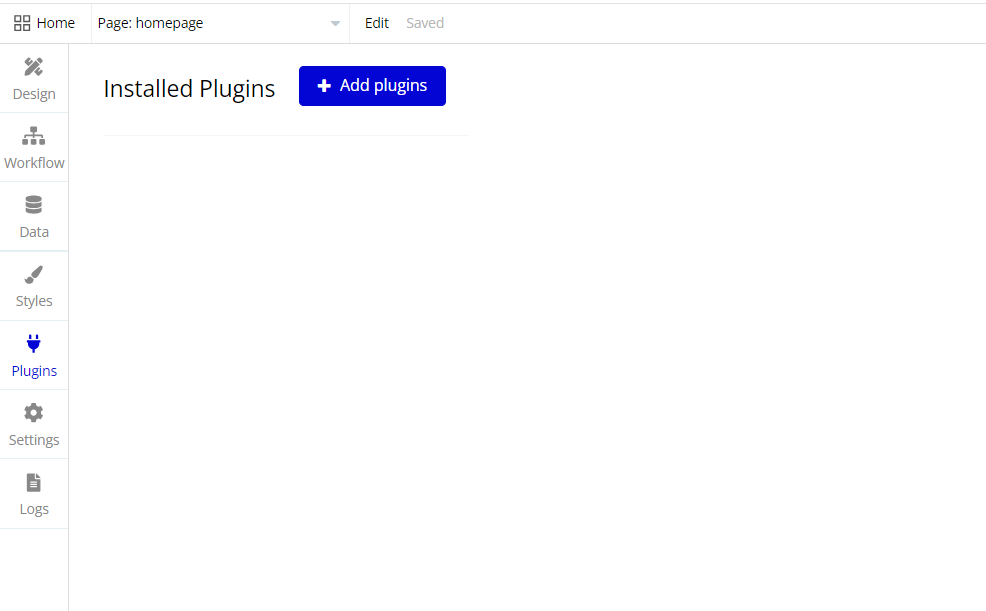
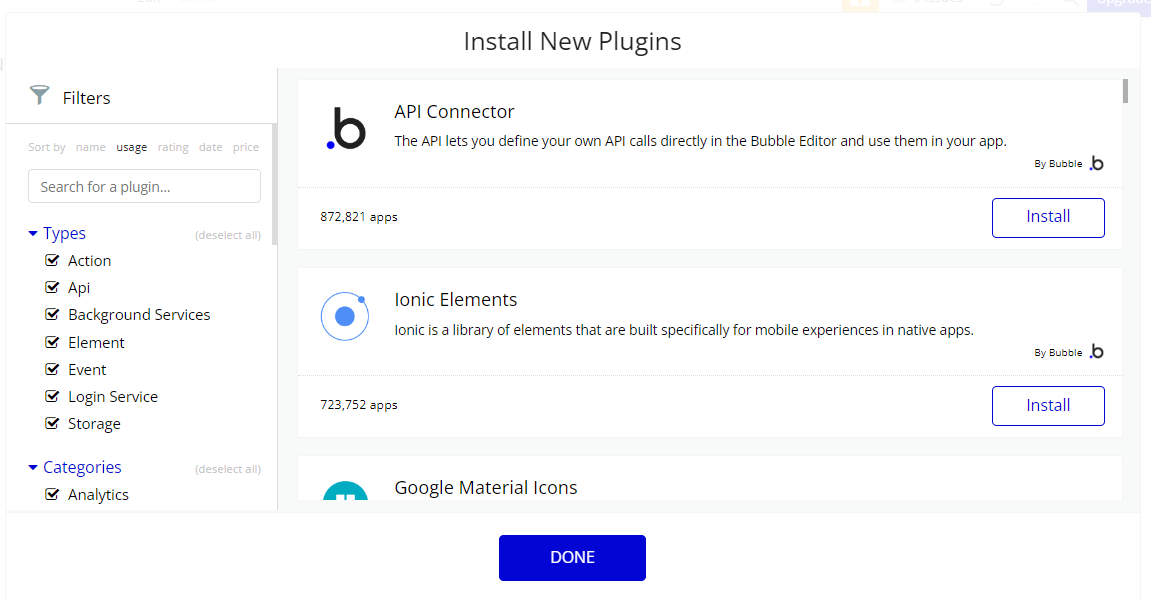
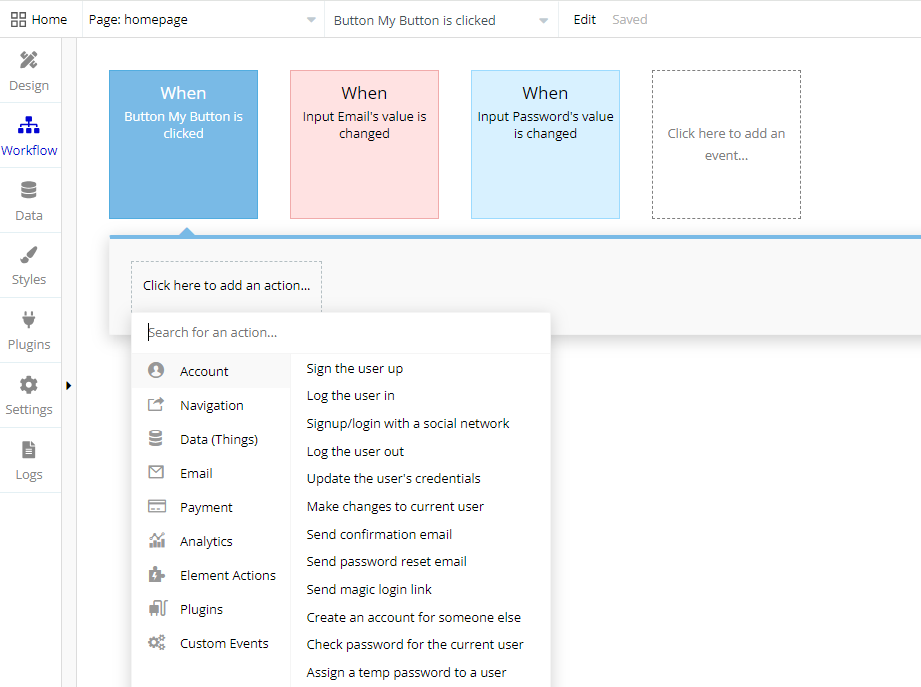
3. Set up necessary plugins and workflows:
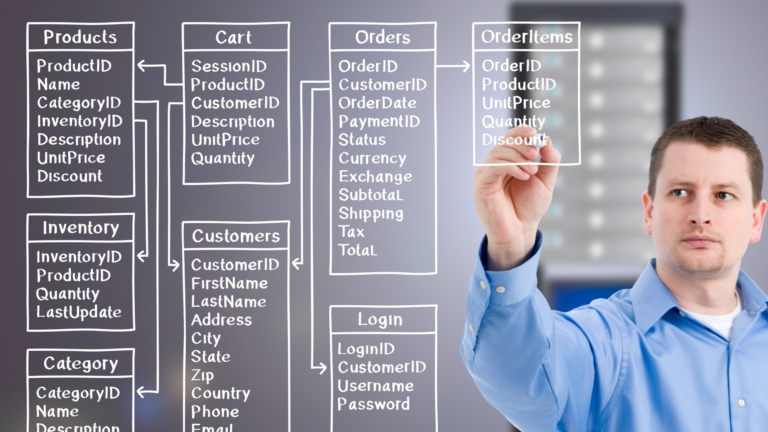
Bubble provides a plugin system that allows you to extend the functionality of your app. Define your app’s functionality using Bubble’s features like data types, user authentication, workflows, and custom APIs. Ensure your app handles any actions the extension triggers (e.g., button clicks).

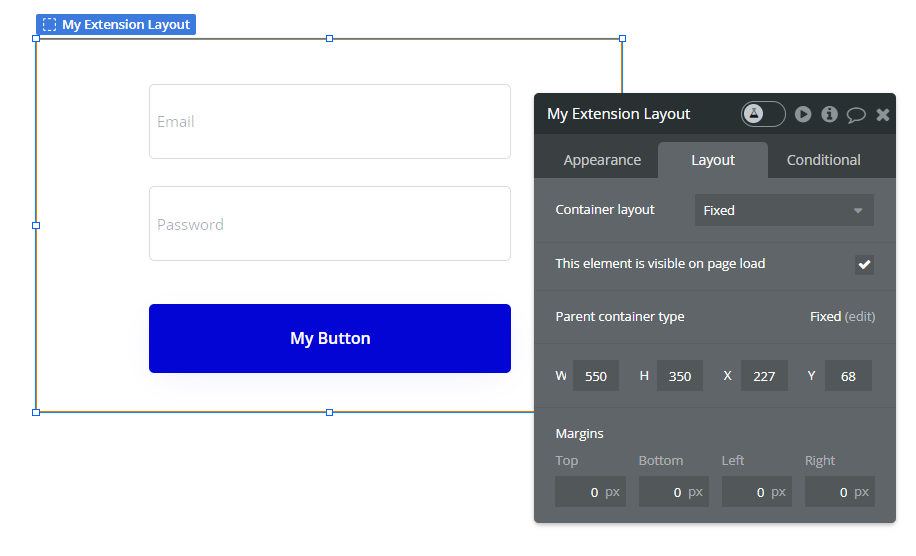
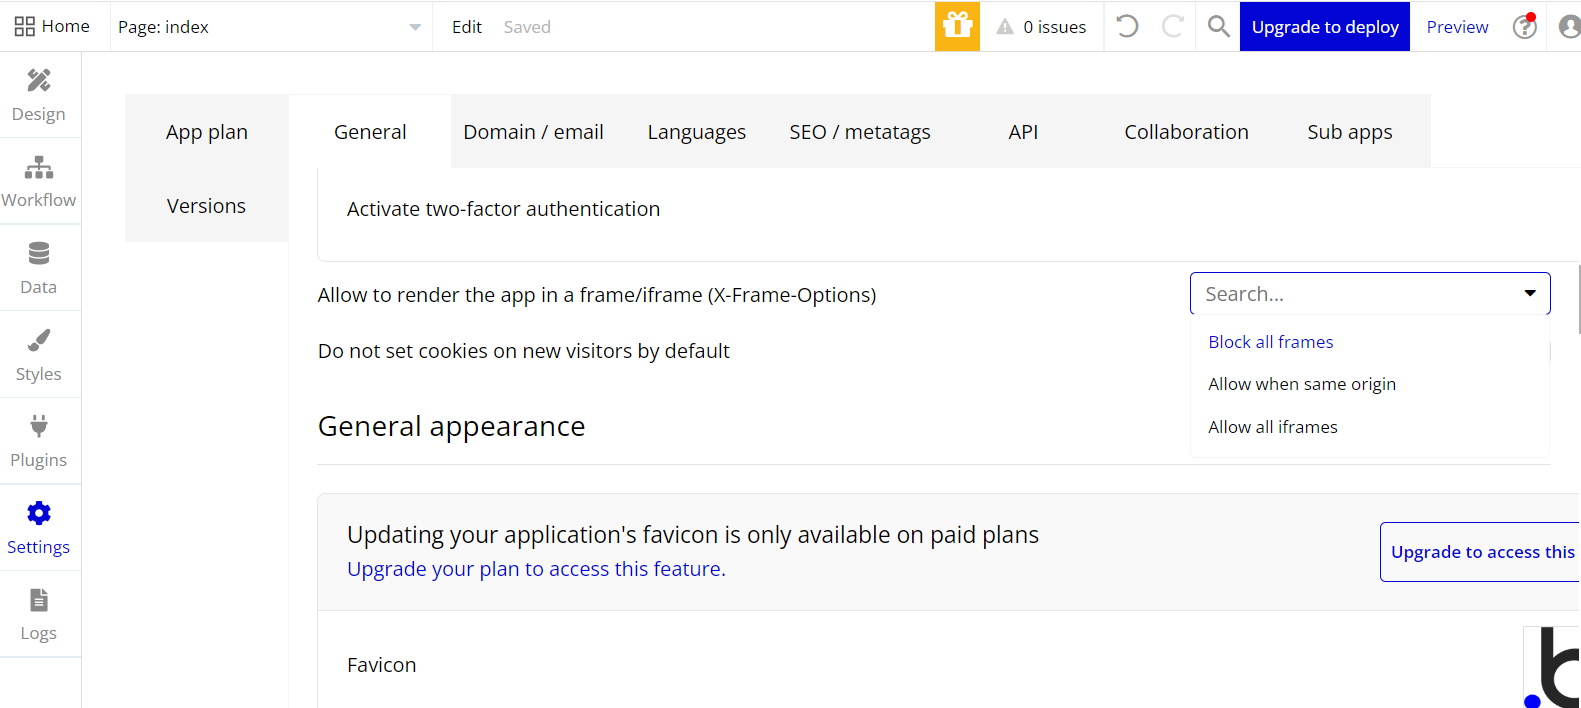
4. Configure your Bubble application to render within iFrame elements:
Navigate to the Settings tab in your Bubble app’s editor. Within the Settings tab, find the General section.
Scroll down within the General section until you see the option labeled “Allow to render the app in a frame/iframe.” Select the option “Allow all iframes.” click the “Save” button to apply the changes.
5. Evaluate the choice of method to build your Chrome extension:
Chrome extensions can be built on Bubble in two different approaches – Building with the Charles Chrome Extension Plugin on Bubble and Manual configuration of the Bubble app files.
These approaches depend on your technical skills, desired levels of control, and specific goals for your extension. The Charles Chrome Extension plugin is great for beginners, has a simple setup and ease of use.
The Manual configuration approach requires basic JavaScript and JSON programming knowledge and advanced control over the extension’s functionalities.
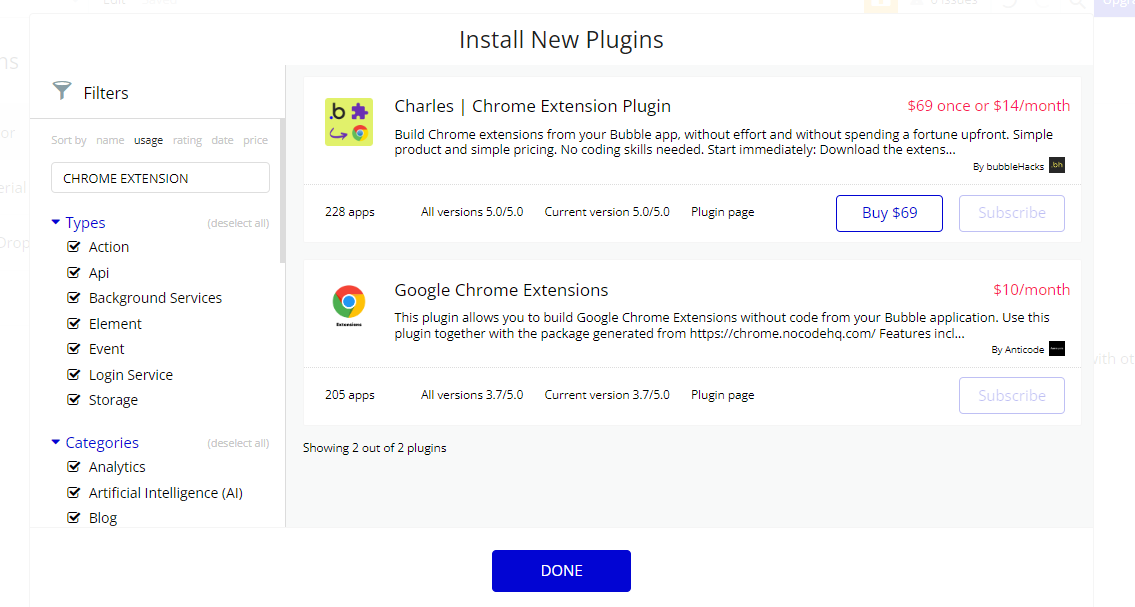
6. Setting up with the Charles Chrome Extension method:
Install the plugin “Charles Chrome Extension” in the Bubble plugin marketplace. Add the plugin element to your app and configure its settings by following the installation instructions provided by the plugin developer.
Design the app’s interface and customize the extension name, description, version, etc. in the manifest file; and design the popup window’s layout and content in the popup file.
The Charles plugin should create the necessary files for your Chrome extension, including the manifest file (manifest.json), popup file (popup.html), or other relevant files based on your chosen display format and the content script file (content.js) if needed.
7. Setting up with the Manual Configuration Method:
After ensuring the proper functioning of your Bubble app, Go to the Settings tab on the Bubble editor. Export your bubble app, and download the HTML, CSS, and JavaScript files.
Then, create a manifest.json file to provide information about your extension. Ensure the details such as name, version, description, and permissions are included. Use the exported HTML file as popup.html. Modify and adapt the JavaScript code for your extension’s functionality.
8. Load Your Extension:
Open Chrome and go to chrome://extensions/. Enable “Developer mode” at the top right. Click on “Load unpacked” and select the folder containing your extension files.

9. Test and Debug Your Extension:
Verify that the extension loads correctly in Chrome. Test its functionality to ensure that it behaves as expected. Iterate on your design and functionality based on testing.
10. Publish Your Extension:
If everything works well, you can consider publishing your extension to the Chrome Web Store. Follow the guidelines provided by Google for submitting extensions.
With Bubble’s intuitive drag-and-drop interface and powerful features, Chrome extensions can be easily built with little or no programming knowledge.
Unleash your inner innovator, explore the endless possibilities, and build the Chrome extension that’s been brewing in your mind.