How to Create a Multi-Select Dropdown in Bubble io
User-friendly interfaces are a hallmark of successful web applications. One essential element to enhance user interaction and give your users the power to choose not just one, but many options in your Bubble.io app is the multi-select dropdown.
Whether filtering products, selecting tags, or managing preferences, this versatile element adds functionality and flexibility.
In this guide, we’ll explore the steps to seamlessly integrate a multi-select dropdown in your Bubble.io project, providing users with a versatile and intuitive selection experience from creation to customization.
How to Create a Multi-Select Dropdown in Bubble io
Step 1: Installing the Multiselect Dropdown Plugin
To kick off this journey towards improved user interaction, let’s start by installing the Multiselect Dropdown plugin. Follow these straightforward steps for installation:
- Open your Bubble.io editor.
- Navigate to the “Plugins” tab on the left sidebar.
- Click on “Add Plugins” and search for “Multiselect Dropdown.”
- Install the plugin to make it available for use in your Bubble.io project.

Step 2: Adding the Multiselect Dropdown Element
Now that the plugin is installed, let’s incorporate the Multiselect Dropdown element into your project:
- Create a new page or access the page where you want the multi-select dropdown.
- Drag and drop the Multiselect Dropdown element onto your page.

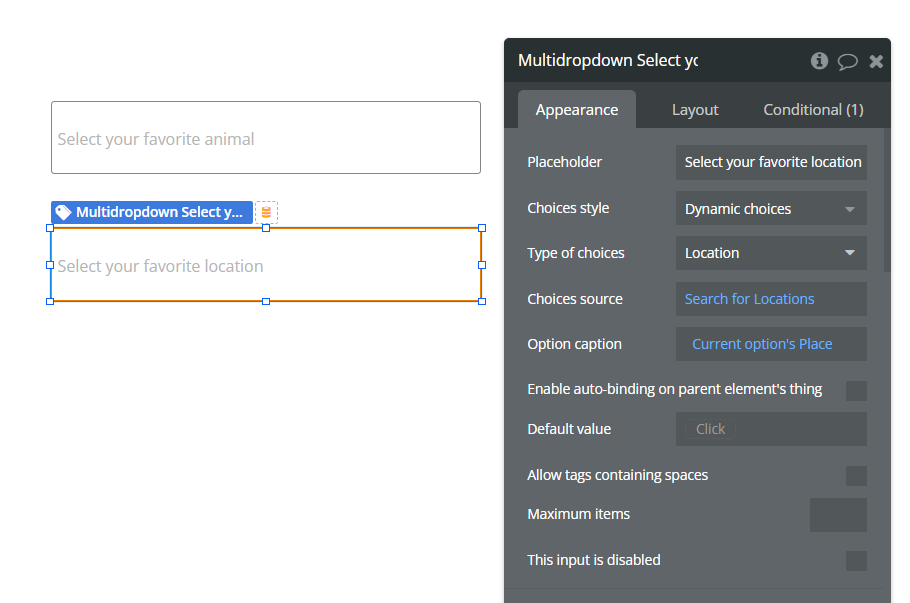
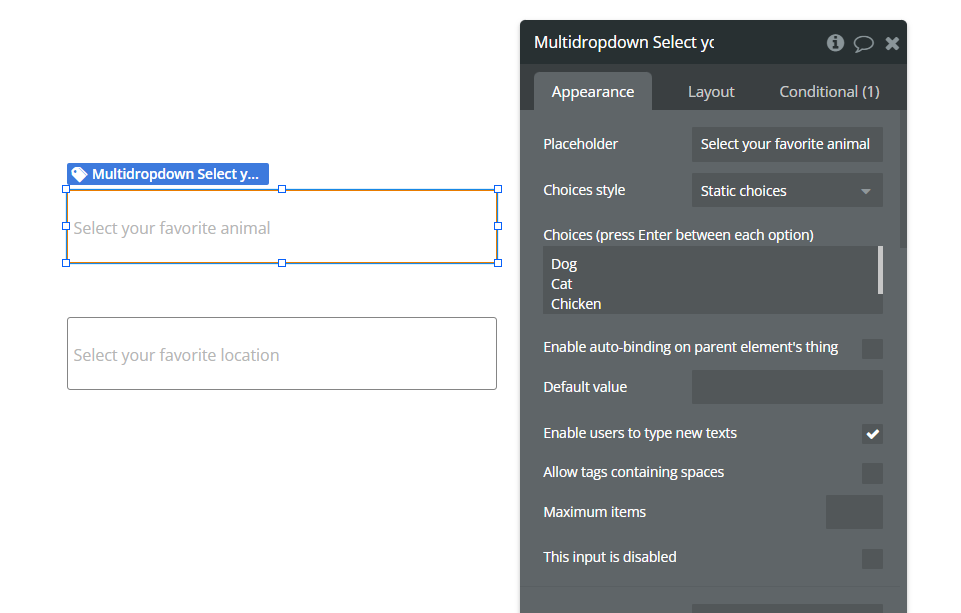
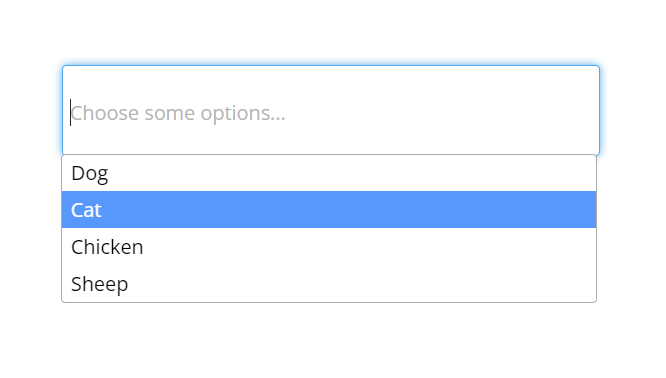
Step 3: Configuring the options of the Dropdown
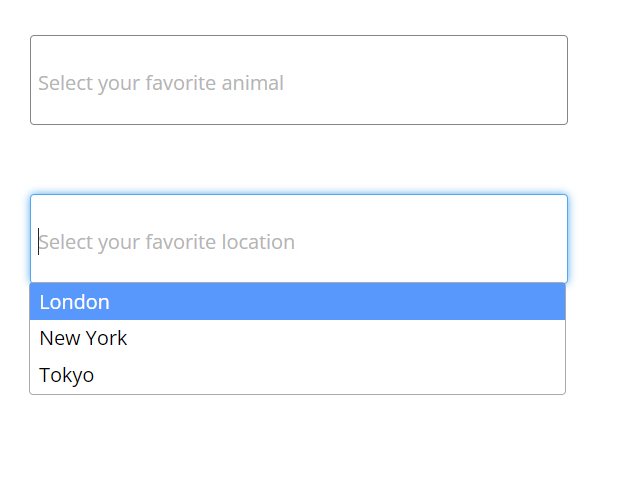
A crucial aspect of a multi-select dropdown is its available options. Customize the dropdown options to suit your project’s needs:
- In the element properties, locate the options related to the Multiselect Dropdown.
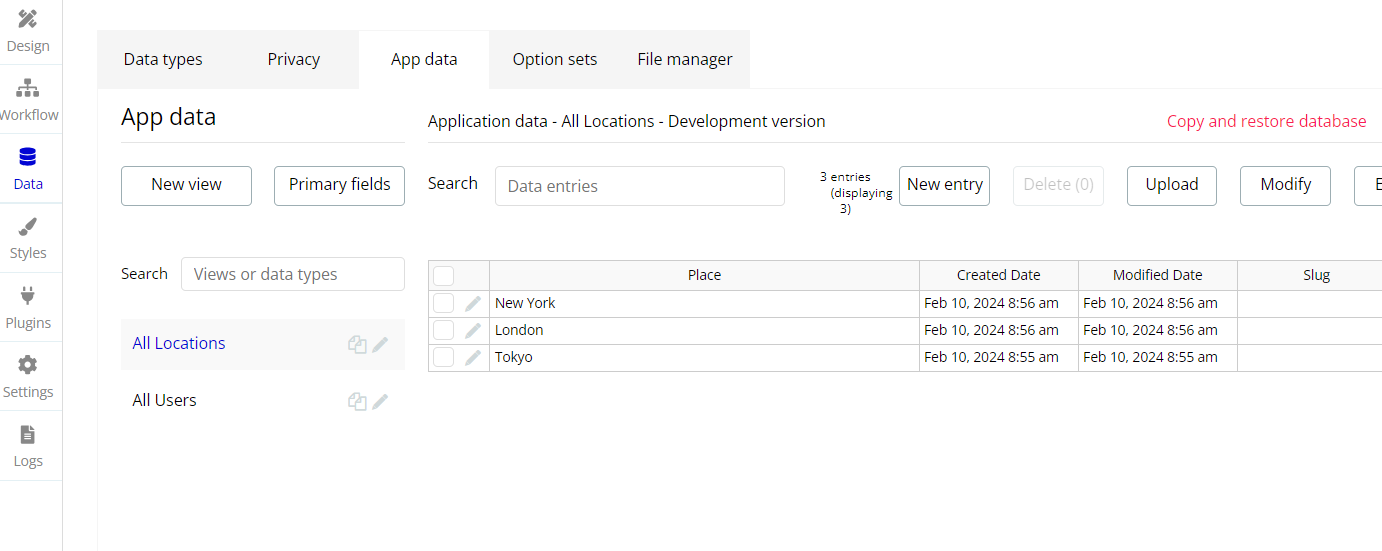
- Set up the options and define the data source for your dropdown. This could include lists or data from your database.
- Specify the list of options that users can select from, ensuring it aligns with your application’s context.
Step 4: Handling Selected Values
The effectiveness of a multi-select dropdown lies in your ability to capture and utilize the selected values.
Let’s set up workflows to handle these values:
- Create a workflow that triggers based on dropdown selections (e.g., filter data).
- Utilize workflow actions to capture and process the selected values as needed. This could involve updating your database, triggering other actions, or dynamically changing elements on your page.
- Use the settings panel to adjust the dropdown’s appearance and behavior.
- Set a placeholder text, default selections, and error messages.
- Ensure your multi-select dropdown is clear and user-friendly.

With these steps and tips, you’re ready to create powerful and user-friendly multi-select dropdowns in your Bubble.io apps. Remember, experimentation is key! So, go forth, unleash your creativity, and empower your users with the freedom of multiple choices!
This enhancement not only enriches the user experience but also provides a more flexible and intuitive way for users to interact with your application.
As you explore the possibilities of Bubble.io, remember that continuous refinement and customization will allow you to tailor the multi-select dropdown to meet the specific needs of your project.
Elevate your user interface, and empower your users with a seamless and interactive selection process.
Related: