Bubble io pdf generator : How to convert Bubble page to Pdf Document
Ever wished you could effortlessly convert Bubble.io content into professional-looking PDFs? In this guide, we will walk you through the steps to set up a Bubble io PDF generator, empowering you to dynamically generate PDF documents from your web applications.
There are several approaches to PDF generation in Bubble, selecting a method depends on the cost, ease of control, and purpose.
- Create a PDF by capturing a screenshot of a specific element or the entire page.
- Create the PDF by customizing the workflow.
- Customizing the outlook of your PDF through a third-party generated template.
How to convert bubble page to pdf Document
Approach 1: Create a PDF by capturing a screenshot of a specific element or the entire page
- Head to the “Plugins” tab in your Bubble app and install the “PDF & Screenshot Pro” plugin.

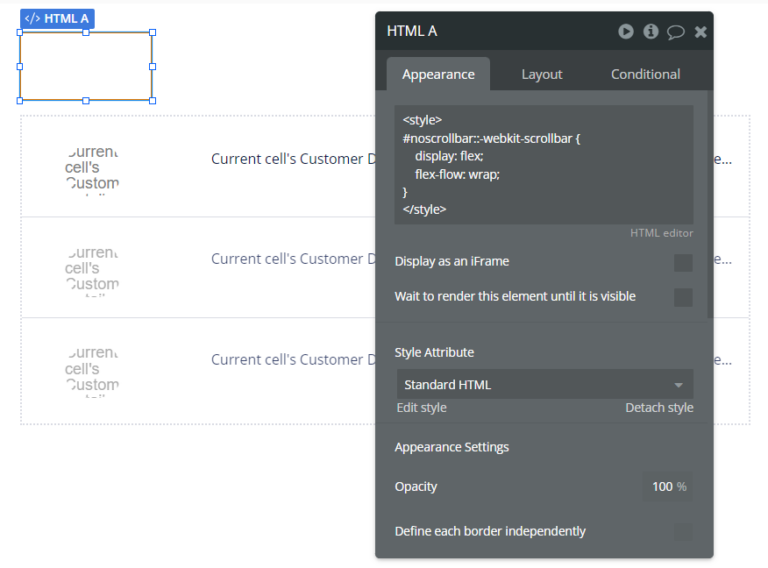
- Add “PDF & Screenshot Pro” element onto your page.

- Input the ID attribute (screenshot) of the element you want to capture as a PDF.

- Create a workflow that triggers when you want to generate the PDF (e.g. a button click) to screenshot the PDF.

Approach 2: Create the PDF by customizing the Workflows
- Head to the “Plugins” tab in your Bubble app and install the “PDF Conjurer” plugin.

- Configure the plugins to set up templates, and specify the source element, filename, download options, etc.
- Define a workflow to trigger the plugin’s action. This could be a button click, page load, or other events.

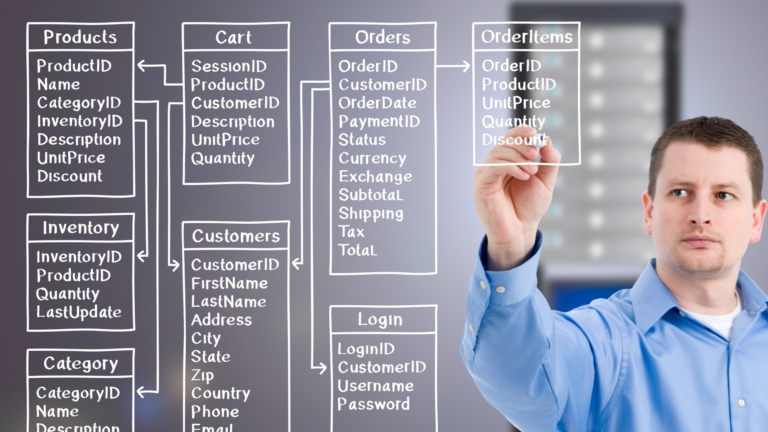
- Ensure that your application gathers the necessary data for the PDF by retrieving its data from the Bubble.io database or external sources.

Approach 3: Customizing the outlook of your PDF through a third-party generated template.
- Head to the “Plugins” tab in your Bubble app and install the “DocSpring” plugin.

- Go to the DocSpring website and create a new template.
- Design your PDF template using their drag-and-drop editor.

- Customize your Bubble data fields to the corresponding merge fields in the newly created template.
- In the Workflow tab, add the “DocSpring – Create PDF Submission” action to your workflow.

- Triggers the workflow into DocSpring action when you want to generate the PDF (e.g. with a button click).
TESTING
- Ensure that the PDF generation workflow works as expected by thoroughly testing your application.
- Generate test PDFs and check for formatting issues and data accuracy.
- After verifying that your application works well and testing is complete, go ahead and deploy it using Bubble.io.
Related posts :
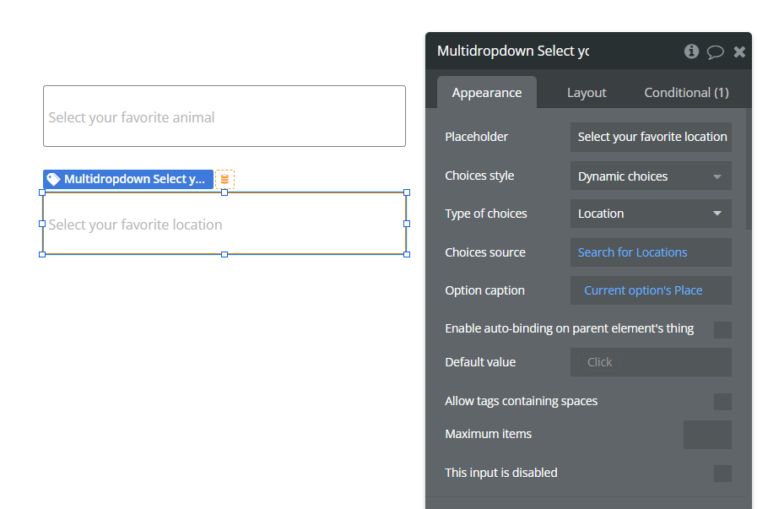
How to Create a Multi-Select Dropdown in Bubble io
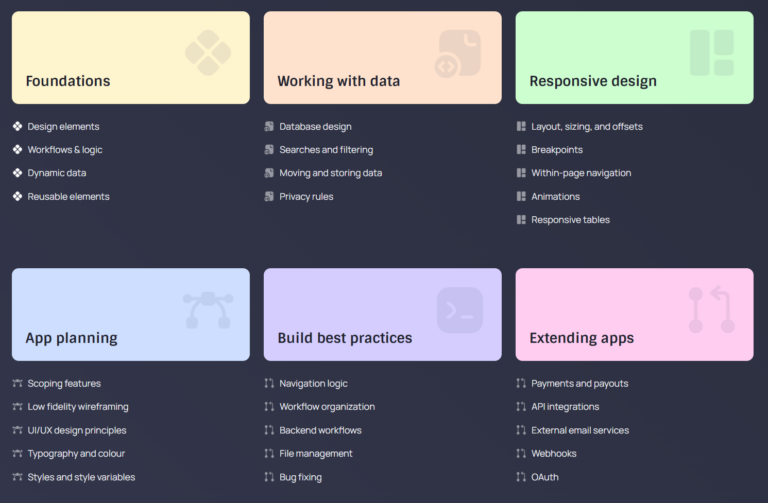
Best 10 bubble.io courses in 2024 : From idea to Fullstack app